Friday, January 16, 2026

Shell Stitch Crochet Beanie

Hook-Size G through J Crochet Hook 

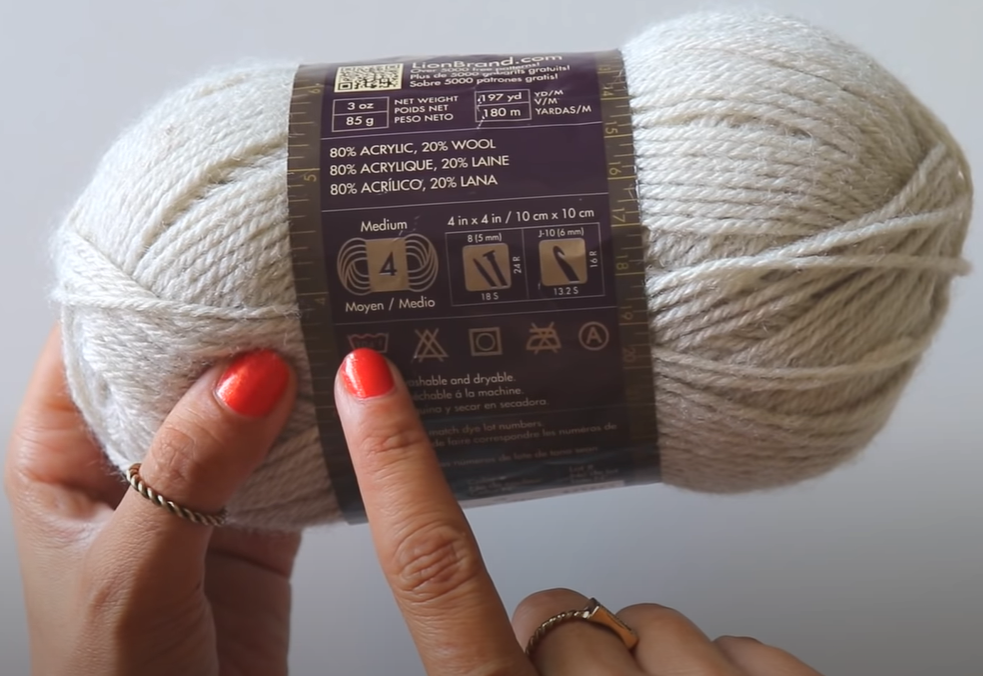
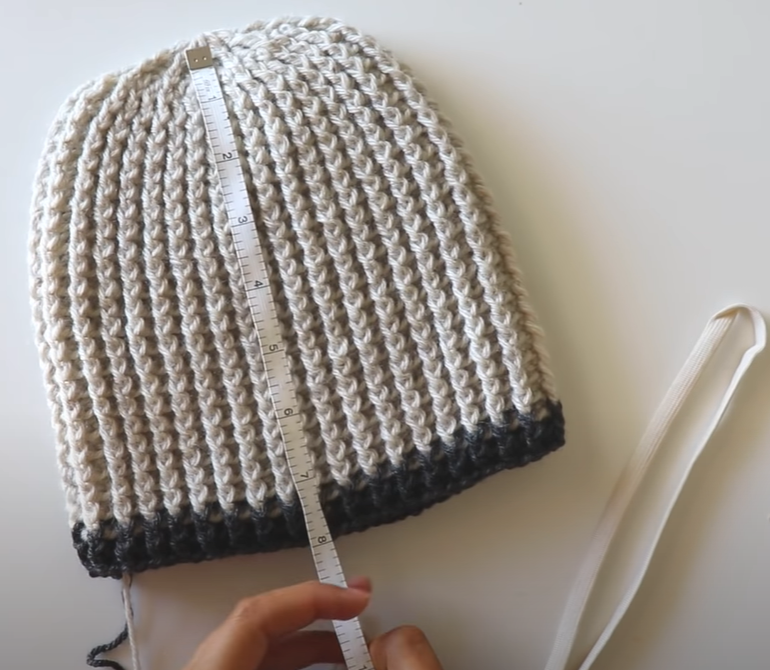
Yarn-4-ply worsted weight Size Estimate - 22 inches around

Abbreviations 

SH = Shell 

DC = Double Crochet 

CH = Chain 

MC = Magic Circle I am providing two starts for the cap. You can pick which one you want to use. 

Start 1: Magic Circle for starting loop. 

Start 2: Chain 7, join 

Round 1: CH 1, *SC in starting loop. SH of 5 DC in loop, complete 4 times from *, join in beginning SC. (4 Shells) This next round is preparing for the shell increases. It takes two rounds to complete an increase for shells. 

Round 2: SL ST to 3rd DC, CH 1, *SC in same ST, (this will be an increase shell)SH- 3DC, CH 1, 3 DC. SC in 3rd DC, complete 4 times from *, join in beg SC. (This is the first part of the shell increase, you will have 4 shells with 3DC,CH 1, 3 DC in each shell. There will be 4 more shells added to each chain 1 space in the next round.) 

Round 3: SL ST to 2nd DC, CH 1,*SC in 2nd DC, SH of 5 DC in CH 1 space, SC in 2nd DC, SH of 5 DC in the next SC, Complete 4 times from *, join in beg SC. (This is the second part of the shell increase. When this round is complete, there will be 8 full shells with 5 double crochet each) 

Round 4: SL ST to 3rd DC, CH 1 *SC in DC, SH-5 DC in the next SC, Complete 8 times total from*, join in beg SC. (This is just a normal round of shells. You will have 8 shells with 5 DC in each shell) 

Round 5: SL ST to 3rd DC, CH 1, *SC in DC, SH-3DC, CH 1, 3DC in next SC. SC in 3rd DC. SH-5DC in next SC. Complete 4 times from*, join in beg SC. (First part of the increase. There will be 4 shells of 3DC, CH 1, 3 DC. There will be 4 shells of 5 DC. 8 Shells all together.) The hat will take on the shape of a square at this point. This is normal for the previous and next round. 

Round 6: SL ST to 2rd DC, CH 1, * SC in 2nd DC, SH-5 DC in CH 1. SC in 2 DC. SH-5 DC in next SC, SC in 3rd DC, SH-5 DC in next SC. Complete 4 times from *, join in beg SC. (Second part of the increase. There will be 12 shells total, with 5 DC in each shell) in the next SC. After this there are no more increase rounds. 

The hat will shape into a hat even though it may not look like it at this point. 

Round 7-17: SL ST to 3rd DC, CH 1 *SC in DC, SH-5 DC in the next SC, Complete 12 times total from*, join in beg SC. ( You will have 12 shells with 5 DC in each shell for the remainder of the hat)

Sunday, January 11, 2026

Crochet Ribbed Beanie Men’s Hat Tutorial


Crochet Ribbed Beanie Men’s Hat Tutorial


This crochet beanie is simple and perfect for a beginner. It’s an easy crochet hat to make. It’s unisex but you can always find a hat tutorial for women So I think this will be perfect for men.

Hats for men are always good gift ideas because they can always use them and with the ribbed effect it will not look so big. Since it does not take up much space, they can put it in their pocket when not in use.

Materials

Size 4 yarn 180 mt-197 yards

5.0mm hook

Tapestry needle


Stitches used

Chain: ch

Double crochet: dc

Front Post Double Crochet: fpdc

Back Post Double Crochet: bpdc

Stitch: st


Notes

When you see *( )** it means you repeat the instructions in between *( )** Where you see the word ​turn​ it means to turn your work clockwise and work back down the row.


Make a Magic Ring.

Row 1: Ch3 (this is the first dc)+11 dc.

Row 2: Ch3 (this is the first dc.) + 1 fpdc  around the first dc of previous row+*(1 dc in the dc of previous row+1 fpdc  around the same dc of previous row)** (at the end of the row2,you have 12 dc+12fpdc)

Row 3: Ch3 (this is the first dc)+1 dc in the st of fpdc of previous row+1 fpdc around the fpdc of previous row+*(1 dc in the st of dc of previous row+1 dc in the st of fpdc of previous row+1 fpdc around the fpdc of previous row)**

Row 4: Ch3 (this is the first dc)+1 fpdc in the dc of previous row+*(1 dc in the st of dc of previous row+1 fpdc around the dc of previous row+1 dc in the st of fpdc of previous row+1 fpdc around the fpdc of previous row)**

Row 5: Ch2 (not count this as a dc)*( 1bpdc around the dc of previous row)+1fpdc around the fpdc of previous row)**

Repeat row 5 until your beanie is 22cm.


Wednesday, November 5, 2025

Peanut Butter Krispies Cookies

 Peanut Butter Krispies Cookies. These are the lightest and tastiest peanut butter cookie that you ever tasted. I first made these in 1972 and they are still the world's lightest peanut butter cookie.

Ingredients 1/2 cup unsalted butter, soft 1/2 cup sugar 1/2 cup brown sugar 1/2 cup creamy peanut butter 1 egg room temperature 1 1/4 tsp vanilla 1/4 tsp salt 1/2 tsp baking soda 1 cup flour 1 1/4 cup Rice Krispie cereal Instructions Preheat oven to 350. Line cookie sheets with parchment or foil. Cream butter and sugar together until fluffy. Beat in peanut butter, egg, and vanilla until very creamy. In a separate bowl combine four, salt, and soda. Then slowly beat in to the wet ingredients. Gently stir in rice krispies. Let dough chill for 1 hr. DO NOT SKIP THIS STEP Roll into balls and place on cookie sheets. Bake for 9-11 minutes or until bottoms start to slightly brown. Let cool for several minutes before transferring to a cooling rack.

Wednesday, October 29, 2025

German Chocolate Paradise Cake

 Get ready to fall in love with this German Chocolate Paradise Cake, a rich, buttery, and irresistibly gooey dessert that’s as easy as it is indulgent. Layers of sweet pineapple, shredded coconut, crunchy pecans, and a golden cake topping come together beautifully all crowned with melty German chocolate frosting for the ultimate paradise-inspired treat. Whether you’re serving it for a family gathering, potluck, or just a cozy night in, this dessert is guaranteed to steal the show!

Ingredients

  • 1 box (15.25 oz) yellow cake mix
  • 1 can (12 oz) German chocolate frosting
  • 1 can (20 oz) crushed pineapple, undrained
  • 1 cup chopped pecans
  • ½ cup butter, sliced
  • 1 cup shredded coconut

Instructions

  1. Preheat the oven:
    Preheat your oven to 350°F (175°C). Lightly grease a 9×13-inch baking dish.
  2. Layer the ingredients:
    Pour the undrained crushed pineapple evenly into the prepared dish.
    Sprinkle the shredded coconut evenly over the pineapple layer.
    Scatter the chopped pecans on top for added crunch.
  3. Add the dry cake mix:
    Sprinkle the yellow cake mix evenly over the layered ingredients do not stir.
  4. Top with butter:
    Arrange the sliced butter evenly across the top of the dry mix, covering as much surface as possible.
  5. Bake:
    Bake for 40–45 minutes, or until the top turns golden brown and the edges are bubbly.
  6. Add the frosting:
    While the cake is still warm, spoon the German chocolate frosting over the top. Let it melt naturally, creating a luscious, gooey finish.
  7. Cool and serve:
    Allow the cake to cool slightly before serving. Enjoy it warm or at room temperature.

Variation

  • Chocolate Lovers’ Twist:
    For a richer, more decadent flavor, use chocolate or devil’s food cake mix instead of yellow. The deeper cocoa notes pair beautifully with the sweet pineapple and coconut, making it taste like a true German chocolate dream.
  • Tropical Delight:
    Add a handful of drained mandarin oranges or a splash of coconut milk to the pineapple layer for extra tropical flair. The subtle citrus brightness and creamy undertone balance the sweetness perfectly.
  • Nut-Free Version:
    If you’re avoiding nuts, simply skip the pecans and add a little extra shredded coconut for texture. Toasted coconut can give you that same satisfying crunch without compromising flavor.
  • Creamy Cheesecake Layer:
    For an indulgent twist, drop spoonfuls of sweetened cream cheese between the pineapple and coconut layers before baking. It creates a creamy, tangy contrast that’s absolutely irresistible.

Cooking Notes

  • Use the right baking dish:
    9×13-inch glass or ceramic dish works best because it distributes heat evenly, allowing the butter and cake mix to melt together into that signature gooey, golden layer.
  • Don’t stir the layers:
    The “dump cake” method works because the ingredients bake and blend naturally. Stirring will disrupt the layering and prevent that deliciously crisp topping from forming.
  • Butter placement is key:
    Evenly spacing the butter slices ensures consistent browning and prevents dry patches in the cake mix. Make sure every area of the surface gets a touch of butter.
  • Rest before slicing:
    Let the cake cool for at least 15 minutes after baking. This helps the filling set slightly, making it easier to slice and serve while still staying moist and gooey inside.

Serving Suggestions

  • Serve it warm:
    Enjoy the cake warm from the oven when the chocolate frosting is still soft and the pineapple layer is bubbling gently underneath it’s pure comfort in every bite.
  • Add a cool contrast:
    Pair each serving with a scoop of vanilla ice cream or a dollop of whipped cream to balance the sweetness and add a creamy, refreshing finish.
  • Dress it up for presentation:
    Sprinkle extra toasted coconut or crushed pecans on top just before serving for added crunch and a touch of visual appeal perfect for holidays or potlucks.
  • Make it a dessert centerpiece:
    Serve warm squares in dessert bowls, drizzle lightly with caramel sauce or chocolate syrup, and garnish with a mint leaf for an elegant restaurant-style presentation.

Tips

  • Toast your coconut and pecans:
    Lightly toasting these ingredients before layering adds a deeper, nuttier flavor and extra crunch that elevates every bite. A quick 5 minutes in a dry skillet or oven will do the trick.
  • Use real butter, not margarine:
    The butter gives richness and helps form that buttery crust on top margarine or spreads won’t melt and brown the same way.
  • Warm the frosting slightly:
    Before spreading, microwave the frosting for 10–15 seconds to make it easier to spoon over the hot cake. It will melt smoothly and evenly.
  • Storage and reheating:
    Store leftovers in an airtight container at room temperature for up to 3 days or refrigerate for longer freshness. To reheat, warm individual servings in the microwave for 15–20 seconds for that fresh-baked flavor again.
  • Perfect for sharing:
    This cake travels well, making it a great potluck or picnic dessert. Bake it in a disposable pan if you’re taking it to a gathering no dishes to bring home!

Prep Time:

  • Prep Time: 10 minutes
  • Cook Time: 45 minutes
  • Total Time: 55 minutes

Saturday, October 25, 2025

Triple Fudge Chocolate Cake

One Chocolate Cake Mix (box)

Four eggs

1/2 cup water

1/2 cup melted butter (1 stick)

1 Box chocolate instant pudding

8 oz Sour Cream

---Mix Above Ingredients First---

Fold In 12 oz package of chocolate chips

Bake at 350° F for about 35 minutes in greased and floured bundt pan


Chocolate Glaze

  • 2 tablespoons melted butter
  • 3 tablespoons cocoa powder
  • 1 1/4 cups powdered sugar
  • 2-3 tablespoons warm water
  • 1 teaspoon brandy or vanilla flavor

Sunday, June 22, 2025

Stuff Cass' mother and brother said

 Talking about taking care of Cass' grandmther in her final weeks Cindy and Cody let out this little dig at me over lunch. Cody was saying that Cindy took care of things during the week and that he took care of things over the weekend and then remarked "that's just how we had to do things 'cause we knew we weren't going to get any help elsewhere"...he stressed the word elsewhere by giving me very judgmental glance. Cindy followed up by remarking " Cass really hated his grandmother. 

I can state for a fact that Cass did not hate his grandmother...however he definietly hated is mother (Cindy). 

Cass didn't like to talk about his mother and brother much but I remember when he gave up on them he told me he was through with being treated like a retarded child no one wanted to have around....which I definetly witnessed coming from them.

Sunday, May 4, 2025

Watermelon Pie (haven't tried yet)


Ingredients

1 (3 ounce) package watermelon-flavored Jell-O
¼ cup hot water

1 (12 ounce) container frozen whipped topping, thawed
2 cups diced watermelon

1 (9-inch) prepared graham cracker crust


Directions

  1. Combine Jell-O and hot water in a large bowl; stir until dissolved and cool, 10 to 15 minutes.

  2. Fold dessert topping and diced watermelon into gelatin mixture. Pour mixture into the prepared crust. Cool in the refrigerator until set, about 3 to 4 hours.